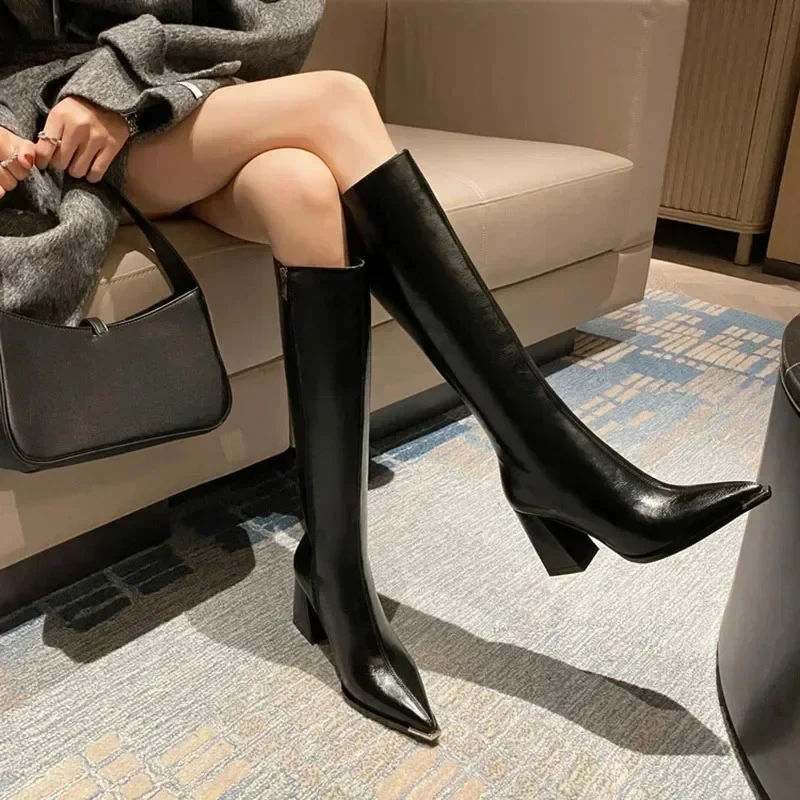
Unboxing a pair of premium leather boots is one of the most satisfying experiences in personal style and utility. The aroma of oil-tanned hide, the solid heft of a double-stitched leather midsole, and the pristine finish of the grain all point toward years of dependable service. Yet putting them on for the first time often tells an entirely different story. Quality boots arrive rigid, unyielding, and downright punishing against the contours of the human foot.
A pervasive myth claims that suffering through bloody heels and raw ankles is a mandatory rite of passage. That old-school mindset is both outdated and counterproductive. A blister is not a trophy of endurance; it is physical evidence of uncontrolled friction and shear stress overwhelming your skin before the hide has adapted to your natural movement. When you understand how quality leather behaves, you can bypass the agony entirely and coax the material into a glove-like fit without sacrificing a single layer of skin.
The Mechanics of the Break-In Process
To prevent blisters, it helps to understand what is actually taking place when a boot adapts to your foot. High-grade footwear relies on thick vegetable-tanned, chrome-tanned, or combination-tanned leather measuring between four and six ounces in weight. At a microscopic level, leather consists of tightly intertwined collagen protein fibers. When the leather is newly tanned and pulled over a manufacturer’s wooden or composite last, these fibers are dense, rigid, and set to the shape of that generic mold rather than your unique anatomy.
Breaking in a boot is the deliberate process of flexing, compressing, and slightly shifting these collagen bundles where your foot naturally articulates. The vamp needs to fold smoothly across your metatarsals. The heel cup must settle around your calcaneus until your heel stops shifting. Underneath your foot, cork fillers and leather midsoles must compress under your body heat and weight to create an anatomical footbed. Because this process demands heat, moisture, and mechanical pressure, rushing it creates excessive friction. Sustained friction against unprepared skin produces blisters every time.
Pre-Wear Preparation and Foot Defense
The battle against blisters is won before you take your first walk outside. Setting up a few strategic defenses protects your skin while giving the boot’s internal components time to soften.
Select the Right Sock Profile
The sock you wear during the break-in stage serves as your frontline defense against shear forces. Step away from standard cotton crew socks entirely. Cotton traps moisture directly against your skin, dramatically raising friction levels and softening the epidermis, which leaves you vulnerable to tears and hot spots.
Instead, wear medium-to-heavyweight merino wool socks. Wool naturally wicks sweat away from the skin surface, regulates interior boot temperatures, and provides dense cushioning that absorbs rubbing rather than transferring it to your heels. If a boot feels exceptionally tight or your heels tend to lift, wear an ultra-thin synthetic or silk liner sock underneath your wool sock. The liner sock creates an internal slip plane: the thicker wool sock rubs against the slick liner rather than your bare skin, effectively neutralizing friction points before they generate heat.
Preemptive Taping of Critical Hot Spots
Do not wait for a hot spot—the telltale burning sensation that signals skin separation—to develop. Inspect your boot and identify the hard contact zones: usually the back of the heel where the stiff leather counter sits, the lateral edge of the pinky toe, and the top of the instep.
Apply moleskin, cohesive athletic tape, or hydrocolloid bandages directly over these vulnerable areas before slipping your feet into the boots. Ensure the tape lies flat without wrinkles, as a folded edge of tape can create friction of its own. This sacrificial layer takes the brunt of the mechanical shearing from the stiff inner lining, keeping your skin undisturbed while the leather adjusts.
Conditioning the Stiffest Zones
While modern boots leave the tannery with internal waxes and oils, giving new boots a light application of quality leather conditioner can expedite break-in. Focus specifically on areas that must flex repeatedly: the vamp crease above the toes, the sides of the ankle quarters, and the tongue gussets.
Apply a modest coat of neatsfoot oil, mink oil, or a beeswax-based leather conditioner using a horsehair brush or microfiber cloth. Allow the hide to absorb the oils overnight. The fats lubricate the individual collagen bundles, allowing them to slide across one another with less internal resistance when your foot bends. Apply conditioner sparingly; saturating the leather can weaken the structural integrity of the hide and cause the boot to stretch permanently out of shape.
The Progressive Wear Strategy
The single most common mistake new boot owners make is wearing their fresh purchase for an entire day of commuting, work, or social outings. Heavy leather responds best to incremental stress. A staged approach allows the material to mold gradually without overwhelming your skin.
Phase One: Indoor Sitting and Light Chores
Start by wearing the boots inside your home for thirty to forty-five minutes at a time while seated at your desk or handling light chores. Keep the outsoles clean on rugs and hardwood floors to preserve return options if you discover an incompatible fit. During this phase, body heat warms the interior leather and begins softening the internal waxes in the hide. Pay close attention to severe pinch points. If an interior seam or folded gusset digs painfully into your ankle while you are stationary, you have caught the issue early before any actual tissue damage occurs.
Phase Two: Short Neighborhood Excursions
Once the boots feel manageable around the house, transition to short outdoor walks of fifteen to twenty minutes on flat surfaces. Run a brief errand or walk around the block. Pay strict attention to your heels. If you feel any warming sensation, stop immediately and take the boots off. Pushing through a hot spot guarantees a fluid-filled blister that will sideline your progress for over a week. Increase the duration of these outdoor walks by ten to fifteen minutes every few days as the initial resistance subsides.
Phase Three: Half-Day Rotations
By the second or third week, the leather should feel noticeably more pliable, and the insole will begin displaying the imprint of your foot. Begin wearing the boots for four- to five-hour stretches during work or weekend activities. Always bring a backup pair of broken-in shoes or sneakers in your bag or car. Swapping your footwear halfway through the day allows the leather to cool and dry, and it gives your feet relief before fatigue alters your walking mechanics and introduces new friction patterns.
Lacing Techniques to Eliminate Heel Slip
Heel slippage is the leading cause of deep heel blisters during the break-in stage. Even when a boot fits correctly, a brand-new leather sole has zero flex. When you take a step, the stiff sole wants to stay flat on the ground while your foot naturally bends at the ball. Because the sole resists bending, your heel lifts upward against the stiff counter.
Adjusting your lacing pattern can dramatically reduce this vertical movement until the shank, midsole, and outsole develop their natural flex point:
-
The Heel-Lock Technique: When you reach the eyelets or speed hooks right at the bend of your ankle, cross the laces over each other twice before pulling them snug, or lace through adjacent eyelets without crossing to create a vertical loop, then feed the opposite lace through that loop. This locks your heel down into the back pocket of the boot without requiring you to over-tighten the lower vamp.
-
Zone Lacing: If your boots feel tight across the top of your foot but loose around the ankle, keep the lower laces moderately relaxed across the instep to maintain proper blood circulation, then cinch firmly around the ankle to stabilize the joint. If the toe box feels slightly cramped, skip the first set of bottom eyelets entirely to give your metatarsals room to expand throughout the day.
-
Tongue Placement: A folded or off-center tongue creates an uneven ridge of thick leather that digs into the front of the ankle. Before cinching your laces, center the tongue precisely and fold any side gussets flat against your ankle bones.
Mechanical Tools for Stubborn Pressure Points
Sometimes a boot fits well overall but features an aggressive local pressure point—often caused by a bunion, a wide toe splay, or a prominent navicular bone. Forcing your foot to manually stretch rigid five-ounce leather in that specific spot is an unnecessary battle that you will lose to skin irritation.
Consider using a two-way wooden boot stretcher. These tools fit down into the boot shaft and feature a mechanical crank that expands the shoe tree laterally. High-quality stretchers come with targeted plastic or metal plugs that snap into specific holes along the frame. Place a plug exactly where your foot makes painful contact with the upper, insert the stretcher, crank the tension until the leather feels taut, and leave it overnight. This gently stretches the localized collagen fibers without distorting the overall silhouette of the footwear.
For high-top work and heritage boots with thick ankle collars, you can also manipulate the leather by hand. Flex the quarter leather back and forth with your hands while relaxing in the evening. Rolling and kneading the collar softens the top seam so it does not gouge your calf muscles when descending stairs or walking uphill.
Damaging Shortcuts to Avoid
Online forums and social media are filled with traditional lore and quick-fix lifehacks for speeding up the break-in process. Most of these methods cause irreversible damage to leather footwear and should never be attempted.
-
The Hot Water Soak: A popular military rumor suggests soaking brand-new leather boots in hot water and wearing them soaking wet until they dry. Water saturates the interior lining, causes vegetable-tanned insoles to curl and harden upon drying, rots internal thread linings, and strips essential tanning oils from the hide. The leather will dry brittle, board-stiff, and prone to premature surface cracking.
-
Baking or Hairdryers: Applying direct heat from an oven, heat gun, or hairdryer dries out the natural moisture within the hide. While heat makes leather pliable in the moment, artificial high heat shrinks the leather fibers and can melt the glue bonds holding the welt, gemming, and sole together.
-
Rubbing Alcohol Sprays: Spraying the interior of a boot with isopropyl alcohol to stretch it breaks down leather finishes, dries out vegetable tannins, and leaves behind a stiff, compromised grain structure.
-
Beating the Boots with a Mallet: Striking the heel counter with a hammer or mallet to soften it crushes the internal heel stiffener—often made of celastic, thermoplastic, or structured leather board. Once this internal structure is crushed, the heel loses its cup shape permanently, leading to perpetual heel slippage and worse blisters down the road.
The Lifelong Benefit of Patient Wear
Breaking in leather boots without blistering your feet requires patience, deliberate preparation, and a modest degree of mechanical understanding. When you protect your skin with merino wool, shield known friction zones with tape, and rely on short, staged wear sessions, you bypass the painful blistering stage entirely.
The reward for your patience is unmatched. Unlike mass-produced synthetic sneakers that provide immediate cushioning only to deteriorate within eighteen months, high-grade leather boots are an investment in longevity. As the cork bed mirrors the arches of your foot and the upper softens to your individual gait, the boot transitions from an unyielding shell into an extension of your body that offers customized support for years to come.